Olton Hall (Hogwarts Express)
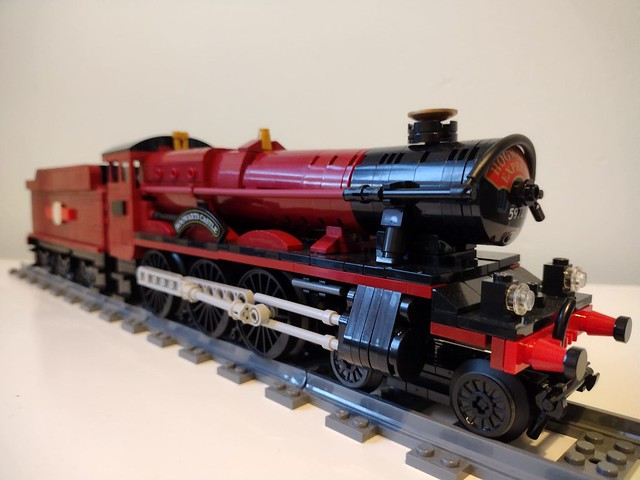
Presenting the Great Western Railway locomotive 5972 “Olton Hall”, better known as Hogwarts Railways locomotive “Hogwarts Castle” - the loco which pulls the Hogwarts Express.
Purists look away now. This uses BigBenBricks XL driving wheels and a Circuit Cubes motor and bluetooth battery hub. I have to say, I’m delighted with both. The wheels are injection molded, and the quality is fantastic. The motor is 2x4 studs x 2 bricks high, and it fits inside the firebox of the locomotive easily. It’s connected by a wire to the tender – lift up the coal section and the battery hub is sitting inside. The app to control it leaves a bit to be desired, and documentation is almost non-existent, but at least in theory apps can be updated and supposedly more documentation will be released in “spring 2022”.
This was a challenging build at every stage. Designing a steam engine in stud.io means you can’t test its running ability, and it turns out that significant tweaks were required. Various parts of the moc were just plain difficult to put together. The driving wheels are connected by gears, but the gears have to be lined up with exactly the right teeth so that the holes on the wheels line up to connect the connecting rods. The boiler is flimsily attached and difficult to put back together if it comes off, often requiring major surgery.
Even sourcing parts was tricky – two half-cylinders in dark red, which have only ever been released in one set, a dark red 1x2 1x4 bracket released in two sets (but one is a polybag, and the other one is a special edition 200 piece bucket so rare that there’s only 1 listed on Bricklink!), dark red windows which have only appeared in two sets… these were among a dozen or so parts with 400 sellers or fewer on Bricklink.
I also experienced three part breakages, which I can’t ever remember happening to me before, due to brittle dark red. The worst instance was one of those rare dark red windows, which broke across the bottom as soon as it looked at another piece. Fortunately I was able to glue that one back together (I recommend Loctite All Plastics Super Glue) – you can barely see the crack and it’s got perfect clutch.
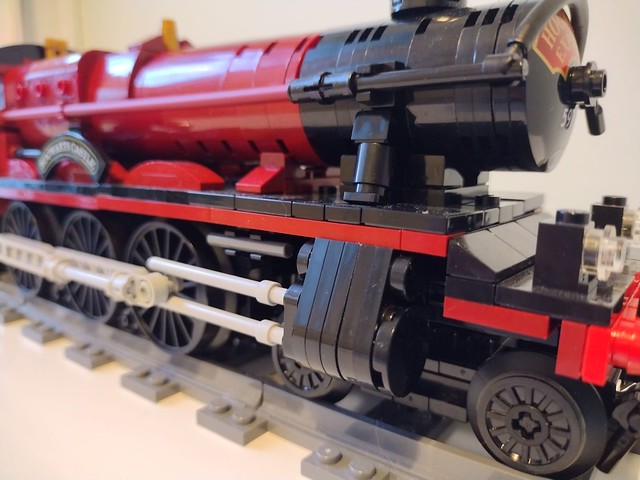
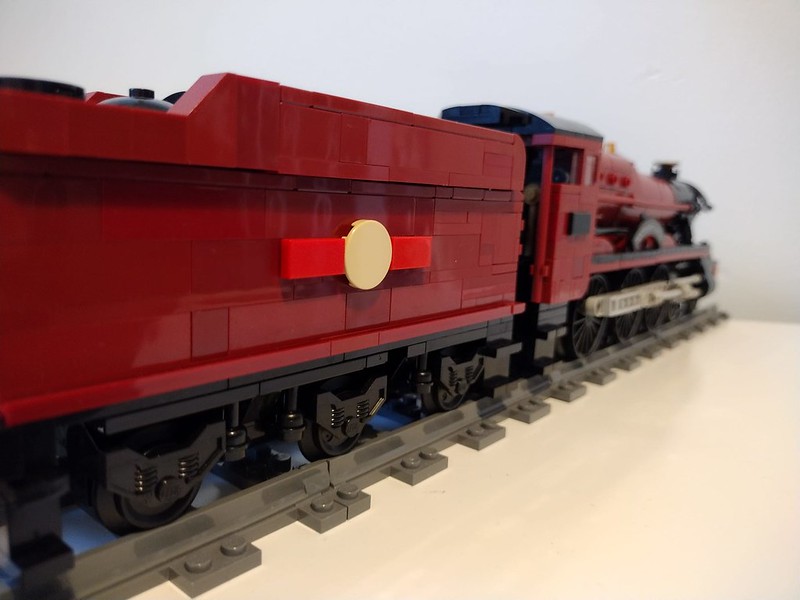
Once I’d built the tender, I discovered it wouldn’t go round Lego curved track – I didn’t think it was long enough to matter originally. Thankfully it wasn’t too hard to modify it to have the back two axles on a turntable. It’s not even that noticeable when it’s running that they’re slightly articulated. Getting the front bogie to turn without hitting the cylinders was much more difficult and I had to experiment with several different configurations before I got it working.
The cylinders are possibly my favourite part of the model. It took a bit of ingenuity to attach them at this angle, especially since they are studs out at both ends, but I think these pieces capture the shape of Olton Hall’s cylinders perfectly.
I won’t say too much about the boiler since I mostly plagiarised the design ![]() The section behind the dome is all my own work – getting a section 2 studs long to replicate the curve of a half cylinder on its side is very tricky, and it’s the part of the model I’m least happy with, but I don’t think it’s any worse than the alternative, which would be to use cheese slopes to approximate the curve. Unfortunately SNOT macaroni bricks aren’t an option, because you’d also need 2x2 macaroni plates to get the right height (or a 2x4 semi-circular plate), and such a thing doesn’t exist.
The section behind the dome is all my own work – getting a section 2 studs long to replicate the curve of a half cylinder on its side is very tricky, and it’s the part of the model I’m least happy with, but I don’t think it’s any worse than the alternative, which would be to use cheese slopes to approximate the curve. Unfortunately SNOT macaroni bricks aren’t an option, because you’d also need 2x2 macaroni plates to get the right height (or a 2x4 semi-circular plate), and such a thing doesn’t exist.
Another feature I’m particularly pleased with is the coupling between the engine and the tender. Getting it to navigate R40 curves (quite a feat in itself) means that if I used a simple pivot between engine and tender (e.g. train magnets or a couple of 3176 Plates, Modified 2 x 3 with Hole connected with a pin), the tender would collide with the cab unless there was a huge gap between them. I spent ages trying to come up with a method whereby there would be a short coupling that would naturally extend when going around corners to avoid collisions, and in the end what I came up with was extremely simple. I’m now going to vainly christen my solution the Eastaway Coupling ![]() It’s easier to explain with an image so here it is:
It’s easier to explain with an image so here it is:
The deviation from pure Lego has been a strange experience. I used some questionable building techniques – the top of the boiler is attached by fitting a half-cylinder over the studs of a bracket at a slight angle, the pipes that come down from the sides of the smokebox aren’t actually attached to anything, the connecting rods of the pistons are bent outwards very slightly (but well within the tolerances of a Technic half-liftarm pin connection). The purist in me is slightly uncomfortable, and I can see it’s a slippery slope that many Lego steam engine builders slide down. It’s a slope that leads to 3d printed connecting rods and other parts, and gratuitous use of stickers to cover up gaps, and it’s a slope I don’t want to go anywhere near… I need to get back to some city building to make sure I stay on the right track (no pun intended)! That being said I do have another train MOC in the works ![]()
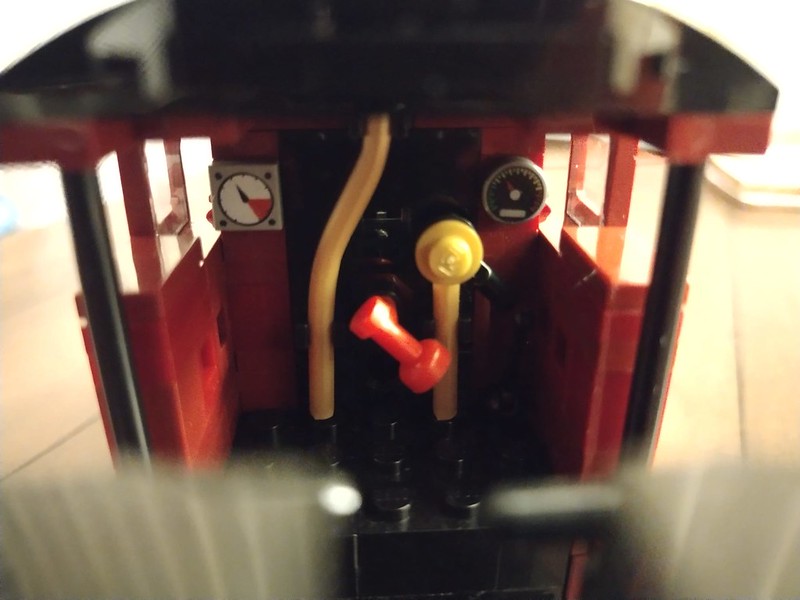
Below are a few more photos, and there's also a video of a running test here: https://flic.kr/p/2nhtn9N


